User:Schmidth
Documentation for creating and updating content on portal.etsi.org
Creating a new page
ISG NFV is used in this example how to create a new page (“Test Page”) - the current page will be the parent page of the new page.
- Login to the ETSI Portal via Chrome to the page https://portal.etsi.org/TB-SiteMap/NFV/NFV-Leaders.
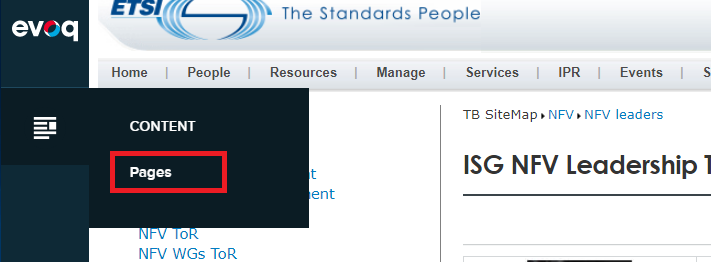
- In the left toolbar, go to CONTENT -> Pages.
- Click on "Add Page".
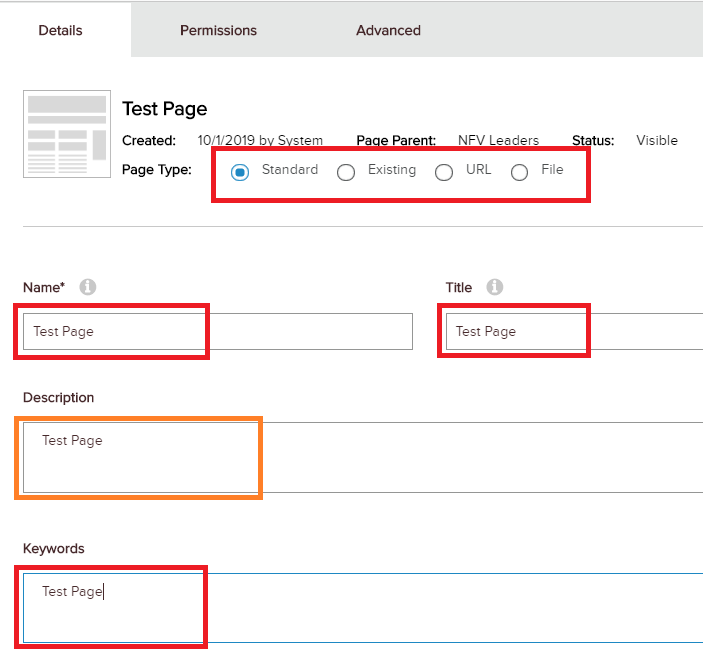
- Select the type of page (Standard, URL or File).
- For a standard page give it a name, title and optionally a description and a set of keywords for better SEO (search engine optimization).
- Select the parent page, if possible.
- Not all pages are available (Pages of type URL or disabled pages for example).
- In this example we want the parent page to be NFV which is of type URL so leave NFV Leaders for now and move the page later.
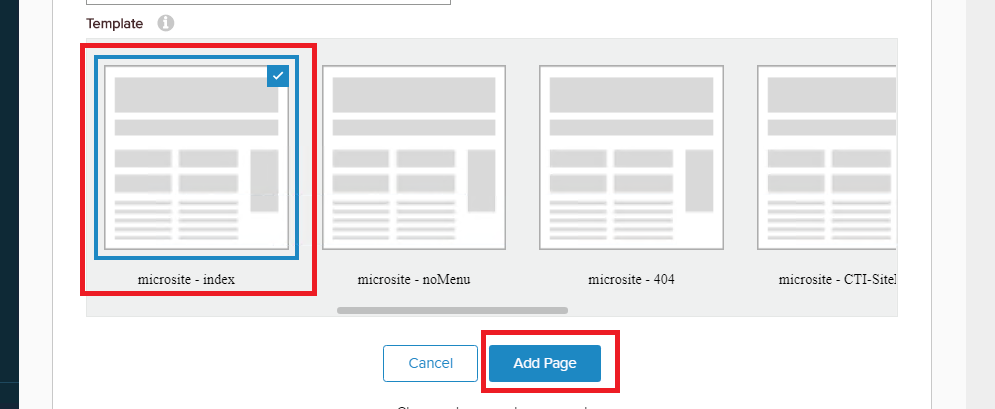
- Select the template (previously called skin).
- Add Page.
The following page has been created: https://portal.etsi.org/TB-SiteMap/NFV/NFV-Leaders/Test-Page.
NOTE: The page will appear as the latest page in the TB-SiteMap.
- Drag/drop the page to the appropriate position (in this case the NFV folder).
- The new URL will be https://portal.etsi.org/TB-SiteMap/NFV/Test-Page.
Editing content
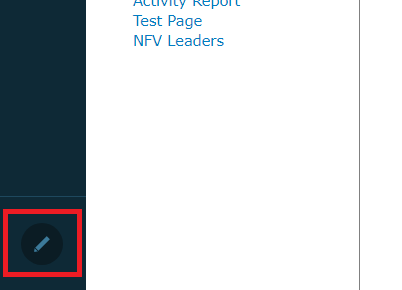
- In the left toolbar, click on Edit.
- Click in the text area to open the simple editor.
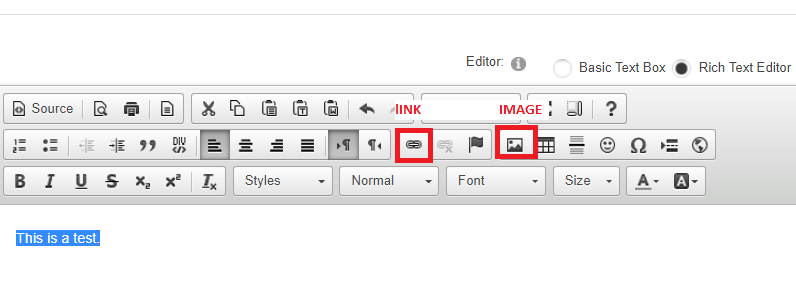
- Edit using this editor, for more options use the advanced editor by clicking on the full far right icon (do not use the simple editor for uploading files).
- The advanced editor allows to add any kind of content needed.
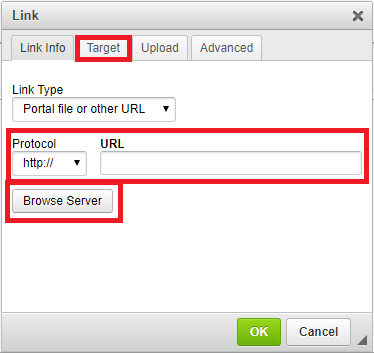
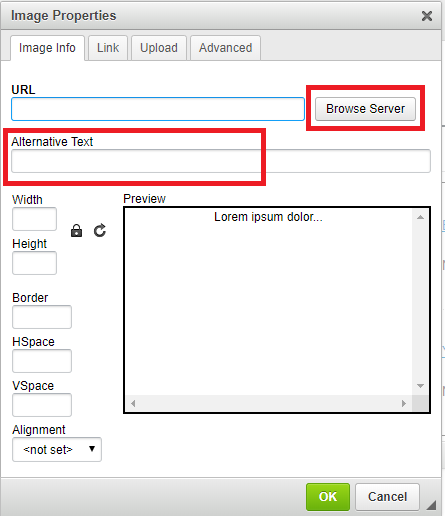
- The icons displayed below can be used to link and upload files or add images.
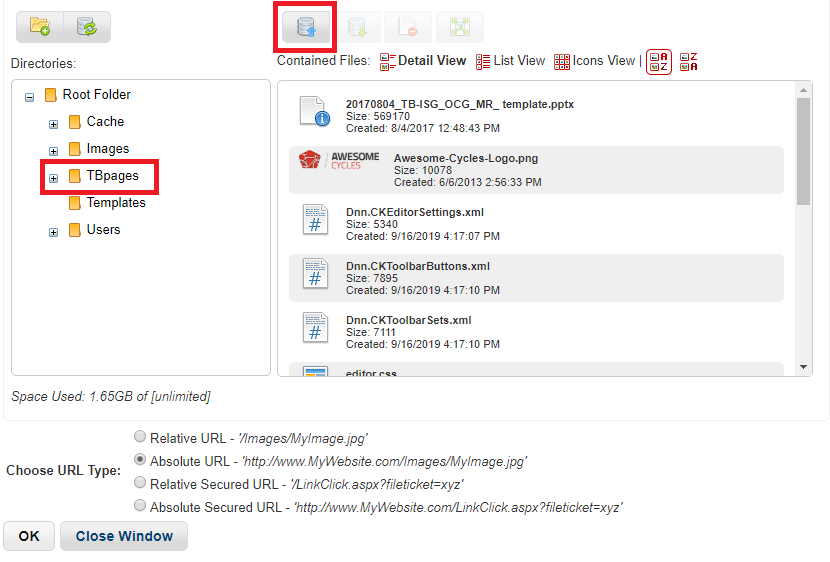
- Use the Browse Server button to upload files.
- DO NOT use the upload tab.
- The Browse server button opens a popup which allows you to browse through the folders on the server and then upload using the icon displayed below.
- Once editing is finished close the advanced editor using the bottom close button or the simple editor link on top.
- Using the top right close button will cancel any changes you have made.
- Then click on Publish at the bottom of the page to save your changes or Discard to delete your changes.
Updating the general information section on TB home pages
- Go to the TB home page (eg. https://portal.etsi.org/tb.aspx?tbid=789&SubTB=789,832,831,801,798,799,848,802,828#/).
- Click on the full screen icon at the top right of the general information portlet.
- In the left toolbar, click on Edit
- Hover over the edit icon above the portlet and click on Edit Module.
- Edit the content using the editor then click save.
